15 Mar 2010
Recent poster I did for college
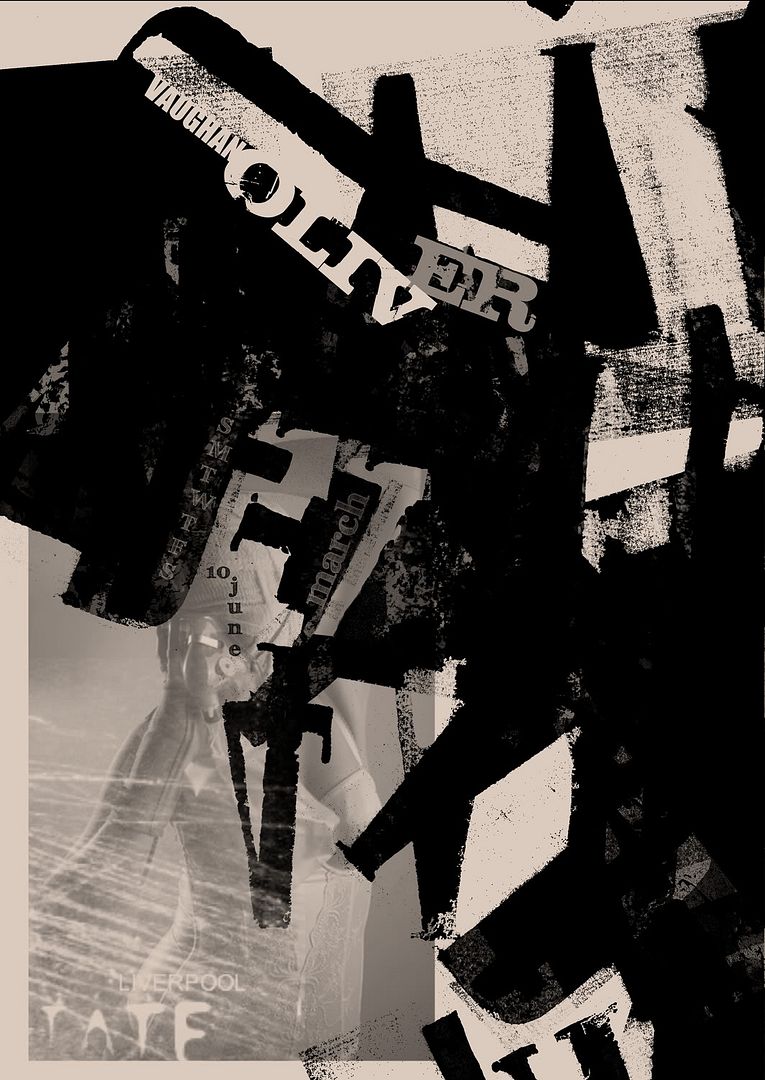

was for a Vaughan Oliver piece i was doing featuring a photo of my mate Alex, top bird.
will post some of the roughs from my source book as soon as my scanner stops being shite
.l..

14 Mar 2010
snort london
Home About Submit a Story 30 Stencil Graffiti Artworks that are worth seeing By Village Mayor • Feb 25th, 2009 • Category: Art, Latest Post, The Best of Village of Joy Some people will say it’s definitely Banksy others will deny that. I intentionally haven’t written the artists that made these graffiti stencils, because it always gets people into quarrel. Moreover, knowing the artist distorts the way you see and evaluate the Artwork itself – because if you are a fan of Banksy – even a poo on a wall made by him will look cool to you. I give you an unique opportunity to see this art without knowing who drew it (if you don’t know it already of course) and be not biased about it. Enjoy the street art! 1. Snort (London, UK) (image credits: What What) “after following a white paint trail around the streets of shoreditch it ends up at this stencil. “ 2. Do not cross (Copenhagen, Denmark) This would look even cooler if the Police Line was actually real. (image credits:
10 Free Original Hi-Res Fully Stained Paper Textures
10 Free Original Hi-Res Fully Stained Paper Textures
These were created by soaking A4 pieces of paper in a tray filled with food colouring and then left to dry in the sun. The edges are most concentrated while the middle of the paper has a sort of tie-dye effect.
You may also like these 20 Free Original Hi-Res Ink Stained Paper Textures
Dont forget to keep checking Texture Lovers too for free textures from around the web.
The Textures On Flickr
You can preview all these textures in the Flickr set before you download any of the files below or simply use them directly from Flickr, the choice is yours.
Rapidshare Download (28mb Zip File)
http://rapidshare.com/fully-stained-paper-textures.zip
Mediafire Download (28mb Zip File)
http://www.mediafire.com/fully-stained-paper-textures.zip
Additional info:
- Scanner: Epson Perfection 3490
- Quantity: 10 Images
- Resolution: 2550px by 3509px
- Contains: Fully stained paper textures


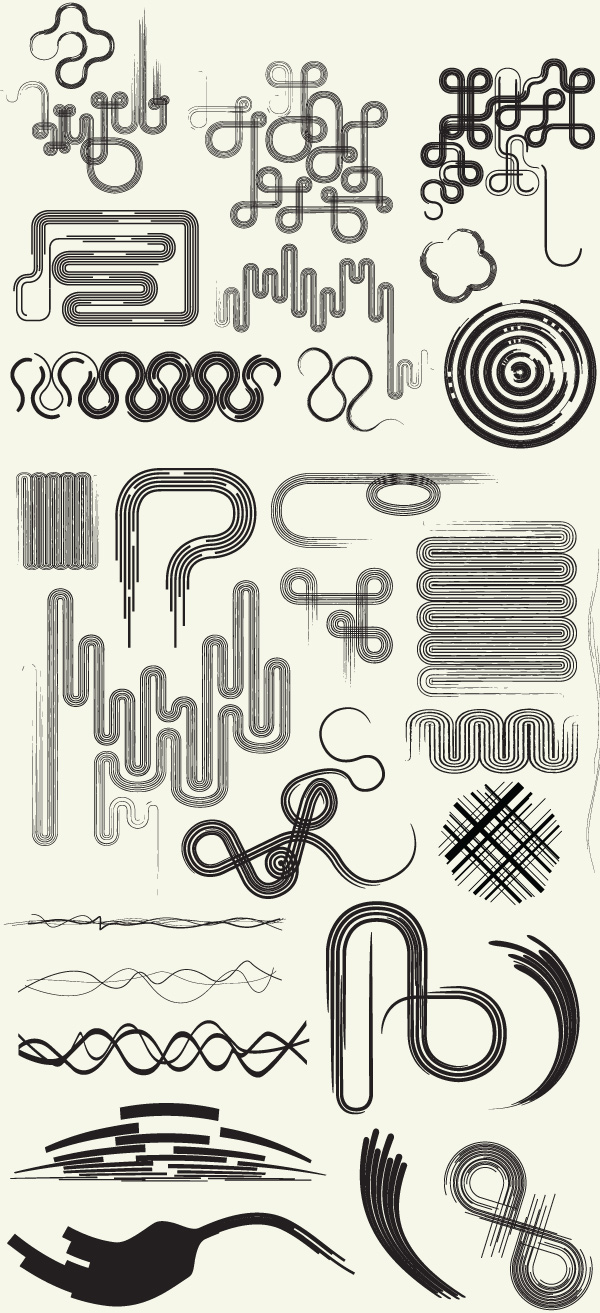
Line art elements are always a great thing to have in your design toolbox. You can use these elements as a background and create a really intricate design. I hope you enjoy and use them in your designs!
Brushes
original post
Few Photoshop goodies

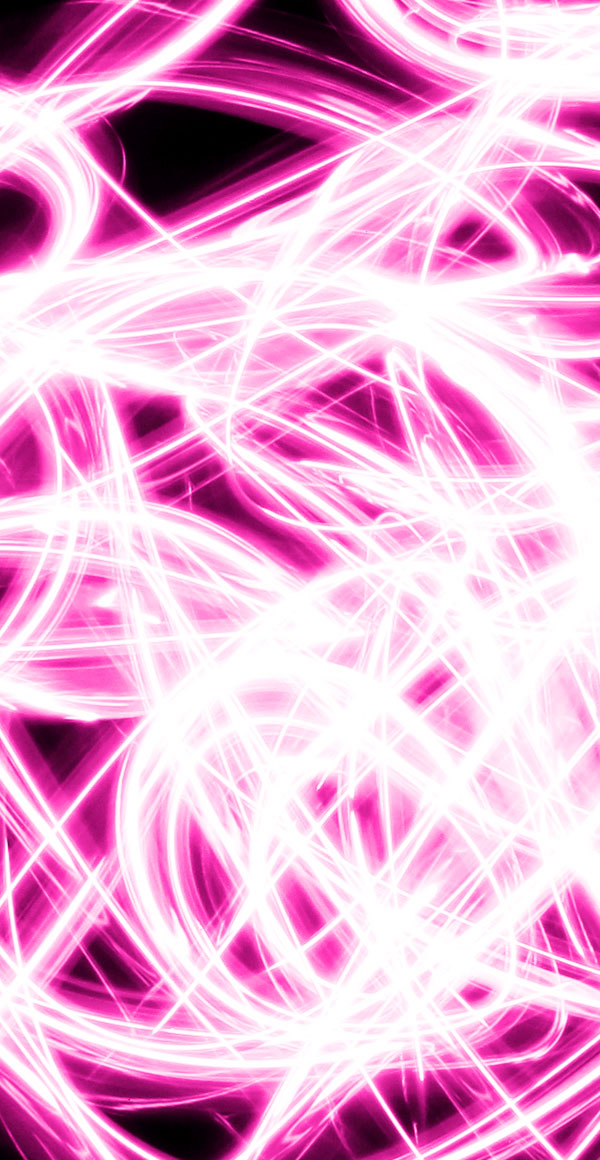
Get onto these free lighting brushes and vectors! :)
Brushes
Vectors
Mini Tutorial – How to Add Color to the Images
1. Open one of the images in Photoshop.
2. Create a New Layer and Fill it with a colorful gradient.
3. Change the layers blending mode to Overlay.
1. Choose a Brush from our Lighting Effects Brush Pack
2. Create a New Layer and select a very vibrant color.
3. Click once to lay down the pixels of the lighting effect brush.
3. Duplicate the layer and add a Color Overlay of White.
You can then add a Hue/Saturation Adjustment Layer to play with the colors.

first post : hence title

The fascist food chain have finally killed a much loved local greengrocers of mine.
Wankers.
.l..
